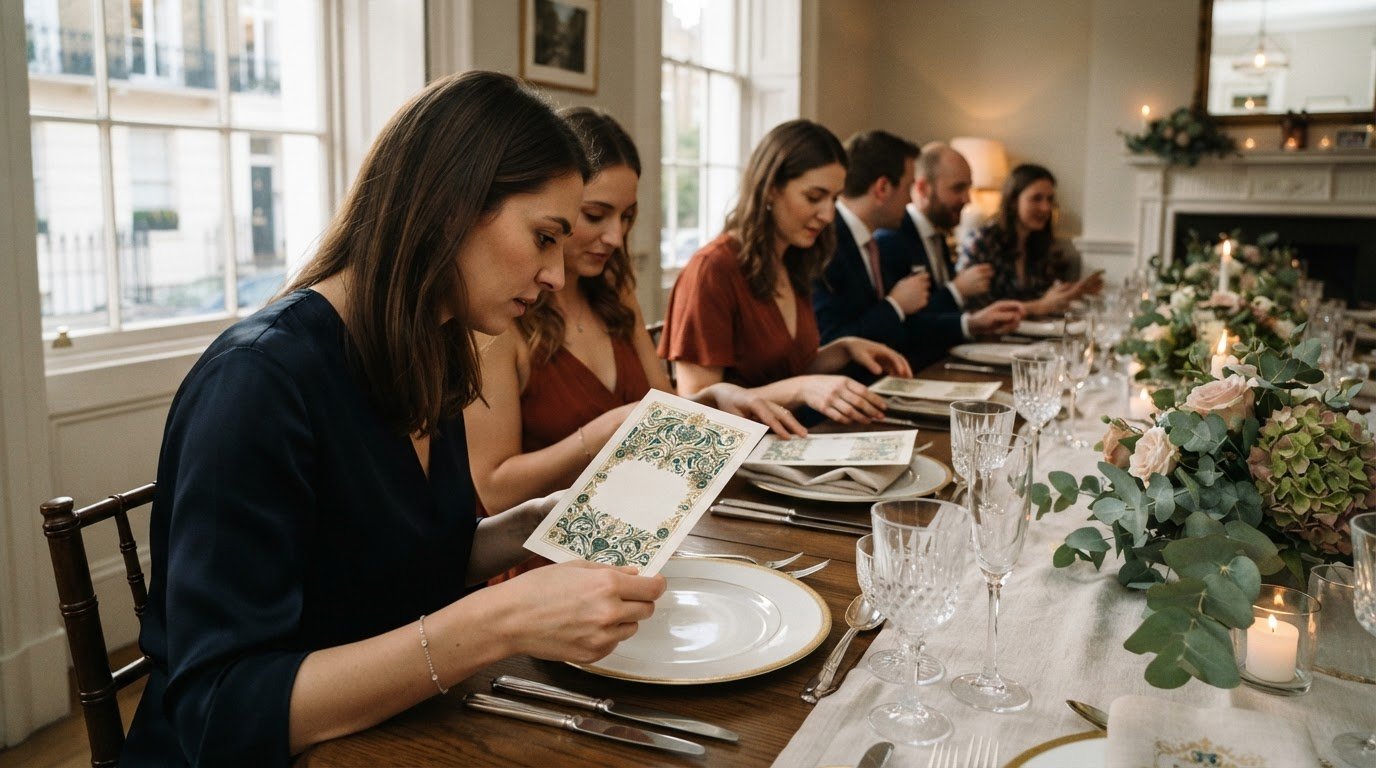
Your menu’s format matters as much as its design. For wedding menu printers in London, supply a high-resolution PDF with fonts embedded or converted to outlines, artwork set to CMYK, and bleed included where the design runs to the edge. Artwork at 300 DPI is a useful standard for clear print detail.
You may already have a design in mind, but choosing between flat and folded menus affects how much space you have and how the card sits on the table. Paper choice and finishing also shape the look, so settle the format before preparing your final file.
This guide covers what to include in your artwork, how proof approval fits into production, and what affects turnaround. It compares personalised menu formats and finishes, including when a folded card gives you more room for text. Make key decisions early and prepare a clear file to help avoid preventable delays.
Key Takeaways
- Prepare print-ready artwork as a high-resolution PDF, with CMYK colour, embedded or outlined fonts, and bleed where needed.
- Allow 5 to 7 working days for printing and dispatch after proof approval, and build approval time into your schedule.
- Decide whether each guest needs a personal menu or whether table cards better suit your setup; plan for at least two menus per table.
- Choose between flat and folded cards based on the space your menu needs, then match the paper and finish to your design.
- Wedding menu orders have a minimum quantity of 25, so factor that into your print quantity and plans for delivery to the venue.
Proof approval and production turnaround
Wedding menu production time starts after you approve the proof, not when you first send artwork. Published estimates differ: one gives up to 5 days for printing and dispatch after approval; another gives 5 to 7 working days. Treat these as different turnaround estimates, and plan around the longer working-day window when your venue date is fixed.
Before approving the proof, compare it with your final menu copy and design. Check dish names, spelling, course order, dietary notes, and guest-specific details. For example, make sure “lemon tart” matches the confirmed menu rather than an earlier draft. Review the layout at its intended size, too, because small text can look different on a printed card.
Prepare print artwork as a high-resolution PDF. Set the colour profile to CMYK, supply images at 300 DPI, and embed fonts or convert them to outlines. These steps help preserve the approved type and colour information when the file moves into production. Include bleed where background colour or artwork reaches the trimmed edge, and keep essential wording clear of that area.
- Confirm the final wording and course sequence before proof approval.
- Check names, accents, punctuation, and dietary details against your final copy.
- Review colour, image quality, type size, and placement at the finished format.
- Approve only the version you want printed, not a draft with unresolved changes.
Proof approval marks the handover to production. Changes requested after approval may require another proof review and affect the schedule. Keep one final file and a clear set of corrections to limit back-and-forth. If you have separate versions, such as menus with different dishes for selected guests, label each one clearly before review.
Plan backwards from the date the menus need to reach the venue. Allow time for finalising the copy, preparing artwork, reviewing and approving the proof, printing, dispatch, and delivery. The stated production window starts only after approval, so resolving a dish change or correcting a name takes place beforehand. The wedding date is fixed; your approval date is the point you can control.
Once the proof matches your approved copy and layout, approve it promptly and keep that version for reference. This gives you a clear record of what should go into production and helps coordinate the menu artwork with other wedding details. If time is tight, finalise the wording and design early, then submit print-ready artwork together instead of sending separate revisions.
Individual guest menus and table menu cards
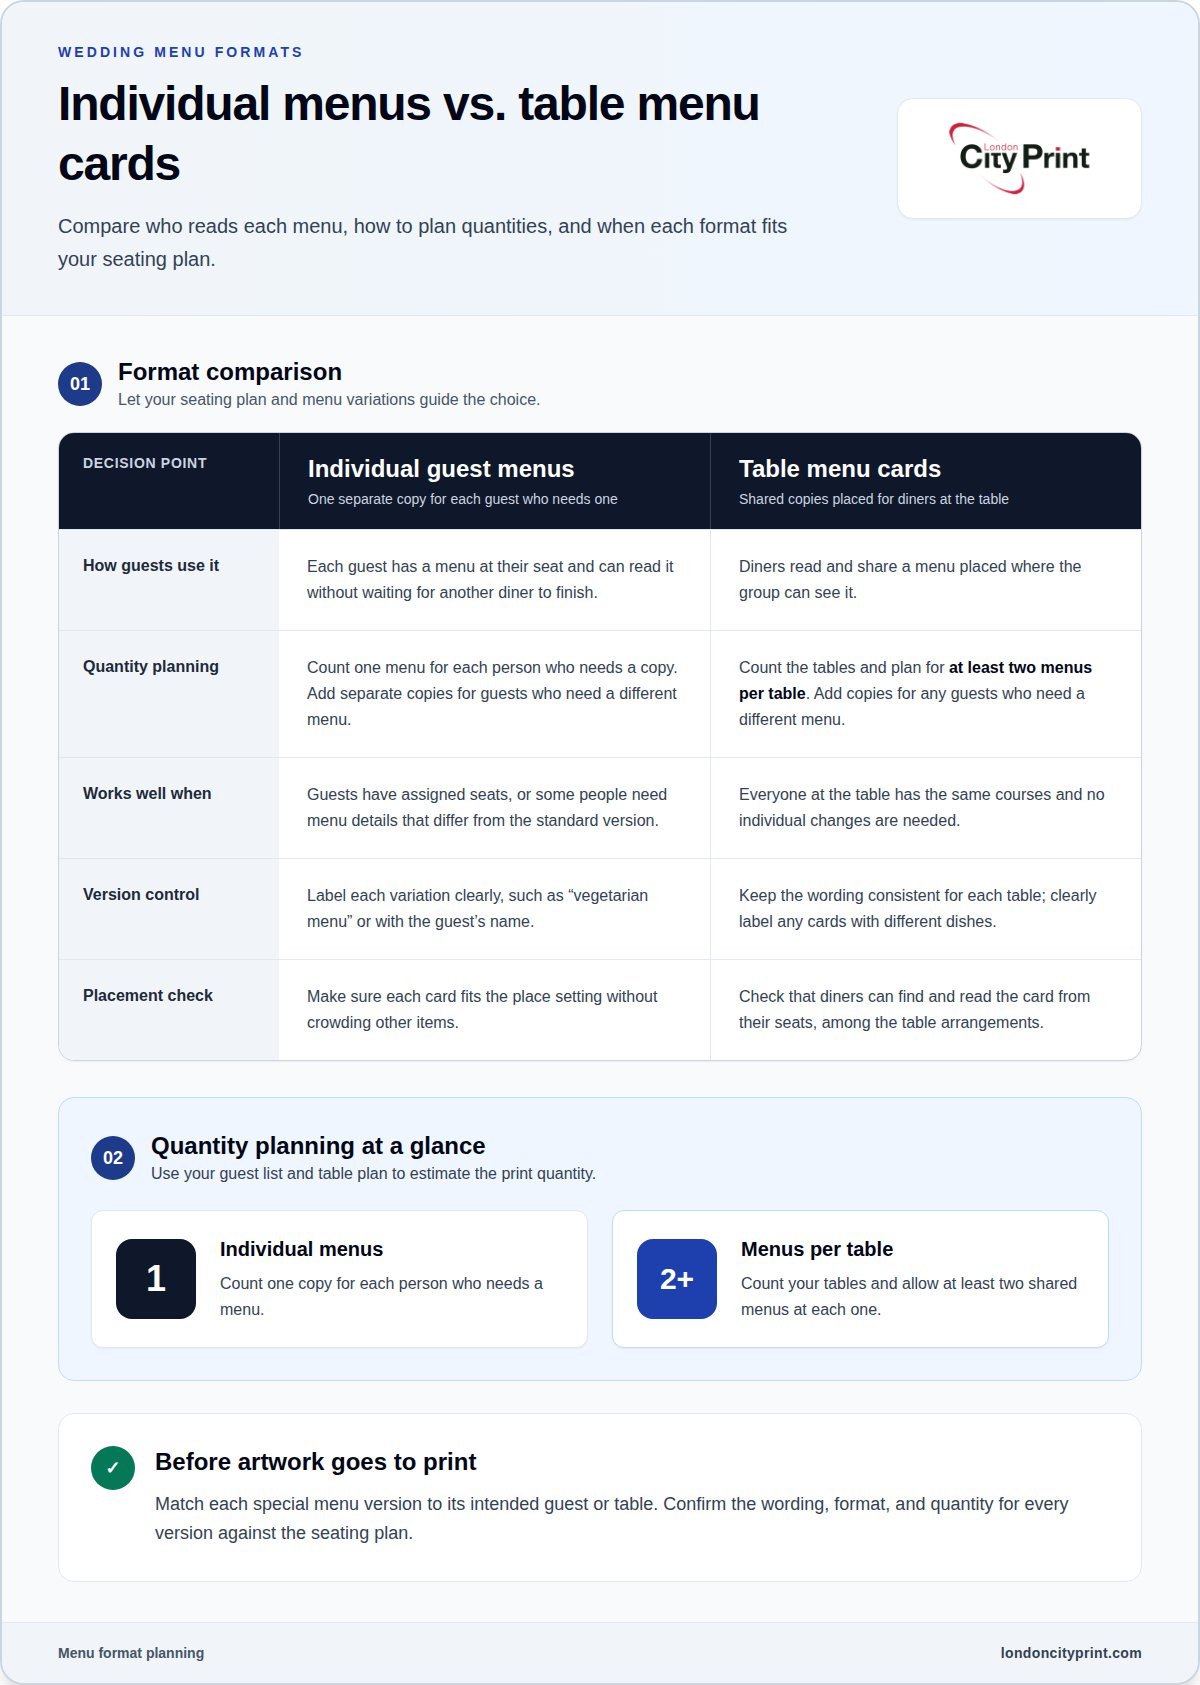
Choose individual menus when each guest needs a copy. Choose table cards when diners can share a menu at their place setting.
Individual Guest Menus
An individual menu gives each guest a separate copy to read at their seat. It suits events where everyone follows the same courses or needs to find menu information easily. Guests can refer to their own card without waiting for another diner to finish reading.
Consider whether every guest will receive the same wording or need a distinct version. Dietary choices may call for different dishes or notes, so organise the final copy by version before layout. Label each variation clearly, for example, “vegetarian menu” or with a guest’s name. Clear labels distinguish the files and make proof review more precise.
Table Menu Cards
A table card puts a menu where diners can read and share it. Plan for at least two menus per table, giving guests another copy to read. This format can suit shared dining when everyone at the table receives the same courses and no individual changes are needed.
Check how many guests will sit at each table and where the card will go. One card may be inconvenient if guests cannot see it clearly from their seats, while two provide more than one place to read. Keep the course order and dietary notes legible from the intended viewing distance.
The key difference is how menus are shared: individual copies go to each guest, while table cards serve a group. At a reception with assigned seating, individual menus can complete each place setting. Table cards keep menus together in a simpler layout. Let your seating plan and menu variations guide the choice, not appearance alone.
Before preparing artwork, decide which details belong on every copy. Keep course names and descriptions consistent, and identify any versions with different dishes. A standard menu and a vegetarian menu, for example, need separate, clearly labelled artwork. This avoids using one shared file when the wording differs.
Use the guest list and table plan to estimate the print quantity. For individual menus, count one for each person who needs a copy. For table cards, count the tables and allow at least two menus per table. Add separate copies for any guests who need a different menu.
Make the design practical for its setting. Individual cards should fit each place setting without crowding other items. Table cards should be easy to find and read among the table arrangements. If you use both formats, keep the typography and visual style consistent while labelling each version clearly.
Before production, compare the final wording with the seating plan. Match each special version to its intended guests or table, then confirm the quantity for each format. This check helps prevent missing copies and ensures personal menus or shared cards work smoothly on the day.
Personalised wedding menu cards
Personalisation starts with matching the card’s format and material to your menu. A folded design offers more room for wording and design than a flat card, while the paper choice affects its appearance. Decide what guests need to read before choosing how the card should look.
For a short menu, a flat card can keep the layout direct and focused. A longer menu, with descriptions or several courses, may work better in a folded format. Use the extra panels to organise the sequence, such as starters on the front and later courses inside. Arrange dish names and notes clearly so the menu is easy to follow.
Paper provides another personal detail. Available options include 300gsm recycled board, 280gsm kraft board, and 300gsm pearlescent board. Recycled board can suit a natural design direction, while kraft gives the card a paper-led look. Pearlescent board adds a more reflective appearance. Consider how each material supports your invitation style and table setting.
Weight helps define how a menu feels in a guest’s hand. Both recycled and pearlescent boards are 300gsm, while kraft board is 280gsm. These figures describe the stock weight, not the finished card’s exact feel. A folded format also changes how the card sits and how guests handle it, so consider the material and construction together.
Personalised artwork can include names, a wedding date, a venue detail, or a motif used across your stationery. Choose a few elements and apply them consistently. For example, a date on the cover and matching typography inside can tie the design together without competing with the course details.
Finishing should support the information, not distract from it. A high-gloss finish can make colours look more saturated, but may cause strong reflections under reception lighting. If your layout includes small text or detailed wording, prioritise legibility. A restrained finish keeps attention on the dishes and makes the text easier to read.
- For a compact menu: use a flat layout with concise dish descriptions.
- For more content: consider a folded card with a clear panel-by-panel order.
- For a natural look: compare recycled board and kraft board with your wedding palette.
- For a more reflective look: consider pearlescent board and check how it works with your design.
Before finalising the design, check that the stock, format, and finish suit the amount of text. A folded card offers more design space, but that space is useful only if the layout makes good use of it. Set the couple’s names and wedding date apart from the menu, and give each course enough space to scan easily.
Use a consistent visual style across the menu versions at your reception. If you have individual cards and table menus, repeat the typography, colours, and personal details. This ties the printed pieces together while allowing each format to serve its purpose. Choose the material and finish once the wording and layout are settled.
What are the minimum order quantities for wedding menu printing in London?
The listed minimum order quantity for wedding menus is 25 menus. The maximum listed order quantity is 250 menus. These figures give you a practical range for planning a print run. Start by counting how many copies your reception needs, then compare that total with the order limits.
For individual menus, use your guest count as the starting point. If 86 guests each need a copy, plan for at least 86 menus, not the minimum 25. Add any copies needed for the couple, venue team, or display only when they form part of your print requirement. A clear count helps prevent a shortfall on the day.
For table menus, base the quantity on your seating plan. The recommended allocation is at least two menus per table. For example, a reception with 12 tables would need at least 24 table menus, below the listed minimum. You would need to plan a quantity that meets the 25-menu minimum, even if the table count alone suggests fewer.
Before ordering, count each menu version separately. A standard menu and a vegetarian menu have different wording, so track each version clearly. Keep a simple quantity list with the version name and number of copies. This makes it easier to check the order total against any applicable minimum and maximum limits without mixing up designs.
- Count individual copies using the guest list.
- For table cards, calculate at least two menus per table.
- List each distinct menu version separately.
- Compare the planned total with the 25-menu minimum and 250-menu maximum.
A quantity within the listed range gives you a clear planning target. If your total falls below 25, consider whether you need extra copies for a welcome table, keepsakes, or the venue team. Choose additions that serve a real purpose. Avoid increasing the count without checking the final wording and design for each version.
If your guest count exceeds 250, the listed maximum becomes the point to plan around. Divide the requirement into separate print orders only if the production setup supports that approach; do not assume one order can exceed the stated limit. Keep the same approved artwork and version labels across any planned batches to maintain consistency.
Confirm the total after your seating plan and menu wording settle. A late change to guest numbers can affect individual copy counts, while a table layout change can alter the number of shared cards. Use the final plan to set the quantity, then ensure each version’s copy count adds up to the order total. The minimum is 25 menus; the listed maximum is 250.
Do London printers deliver wedding menus across London?
A printer can deliver wedding menus to a Greater London venue if its delivery arrangements cover that destination. Use the venue’s complete address and postcode to identify the delivery point. The borough or venue name alone may not be enough for a smooth handover, especially if there are several entrances or event spaces.
Ask the venue which entrance should receive print deliveries. A hotel may direct parcels to its loading entrance, while a hired hall may use its main reception. Include the correct handover point with the address. If your wedding has separate ceremony and reception locations, specify which venue should receive the menus.
Choose a recipient who can accept the package and pass it to the person setting up the tables. This could be your planner or venue coordinator. Include their name and contact details in the delivery instructions. If the recipient changes, update the details promptly so the parcel is not directed to someone unavailable.
Plan delivery around the venue’s access arrangements. For example, the venue may accept deliveries only at a designated entrance or during staffed hours. Ask the venue team about its procedure, then include those instructions when arranging the print order. Keep the wedding date and preferred arrival date clear in your planning notes.
Before finalising the order, assemble the delivery information:
- The venue’s full street address and postcode.
- The building, room, or event space that should receive the menus.
- The named recipient and their contact details.
- Any entrance or handover instructions supplied by the venue.
- The date the menus need to reach the venue.
For venues in areas such as Greenwich or Richmond, use the full postcode rather than relying on the district name. If you are organising deliveries to multiple wedding locations, label each destination clearly in your schedule. This helps distinguish the reception delivery from other event arrangements and reduces the risk of sending menus to the wrong place.
Keep the delivery plan with your final order details, separate from the menu artwork. The artwork describes what to print; the delivery instructions identify where the finished menus should go and who will receive them. Prepare your wedding menu print details with the venue’s delivery information ready, so the production and handover arrangements can be discussed together.
London City Print: Wedding Stationery
London City Print provides wedding stationery for couples preparing printed details for their celebration. Choose this service for wedding menus that reflect your preferred format, wording, and design. Begin with your approved artwork and menu requirements.
Clear specifications help keep the order aligned with your plans. Include the menu version, quantity, preferred format, and any details that distinguish one design from another. If you are coordinating menus with other printed pieces, keep the visual style consistent across the materials.
For a coordinated print project, London City Print also offers Booklets and Brochures, Posters, and wire binding. Contact London City Print to discuss your wedding stationery requirements.
Make your menu part of the celebration
Your menu can do more than list dishes. Make it a considered part of the guest experience, with wording and presentation that suit the table setting. Before production, bring the final design decisions together in one clear brief. This gives your chosen wedding menu printers in London a practical reference and helps keep the project moving.
Consider when guests will read the menu: as they sit down, while choosing a course, or when they take it home. That setting can guide your choices, from the amount of copy to the visual emphasis. A menu designed for its intended use feels purposeful, not simply decorative.
When you’re ready to take the next step, share your wedding menu requirements with London City Print. Contact London City Print to discuss your print project and move your menu design towards production. With your decisions in hand, you can give this detail the attention it deserves and look forward to seeing it take its place at your celebration.
Frequently Asked Questions
What format do I supply my files as?
Supply your finished menu artwork as a print-ready PDF. Keep the editable design file separately so you can make future changes without rebuilding the layout. If there are alternate versions, give each one a clear filename and keep its final wording with it. This makes it easier to identify the right file if you revise your event stationery later.
Which London printers specialise in wedding menus?
London City Print provides wedding stationery for couples preparing printed details for their celebration. When choosing a printer, consider what your project needs: coordinated design, multiple menu versions, or different quantities. A concise project brief can set out those requirements and keep decisions in one place. London City Print offers wedding stationery printing for your project.
What paper types, finishes, and sizes can London wedding menu printers provide?
Menu choices depend on the intended presentation and how much information each card needs to carry. Before settling on a size, consider whether guests will hold the menu, read it at their place setting, or share it across a table. Then balance readable text with the available space. Keep the visual details consistent with your wedding stationery.
Do London printers offer custom design or wedding menu templates?
London City Print’s in-house graphic design team can create artwork or adjust files that are not ready for print. Provide your wording and a clear visual direction, such as the colours or typography already used for your event. If you have a draft, share it as a starting point. The design team can organise the information into a layout suited to your menu.
How long does wedding menu printing and delivery take in London?
Plan separate milestones for production, dispatch, and receipt at the venue. Dispatch means the order has left production; it does not confirm that the venue has received it. Include the venue’s receiving arrangements in your plan and assign someone to handle the handover. This helps avoid treating the dispatch date as the date the menus will be ready for table setup.
Which London wedding menu printers offer rush printing or same-day pickup?
London City Print provides same-day printing from its Holborn location. This does not establish same-day pickup for wedding menus, so do not build a fixed event plan around that assumption. Finalise your decisions early and plan the venue handover. This gives you a practical schedule without relying on an unstated pickup arrangement.
What should couples check when proofreading and ordering printed wedding menus?
Before the event, assign one person to receive and sort the finished menus. They can separate versions by table or guest and place them with the correct event materials. Once the package arrives, compare the sets with your order record and note any discrepancy promptly. Keep the record accessible so your planner and venue team can coordinate setup without searching through email threads.