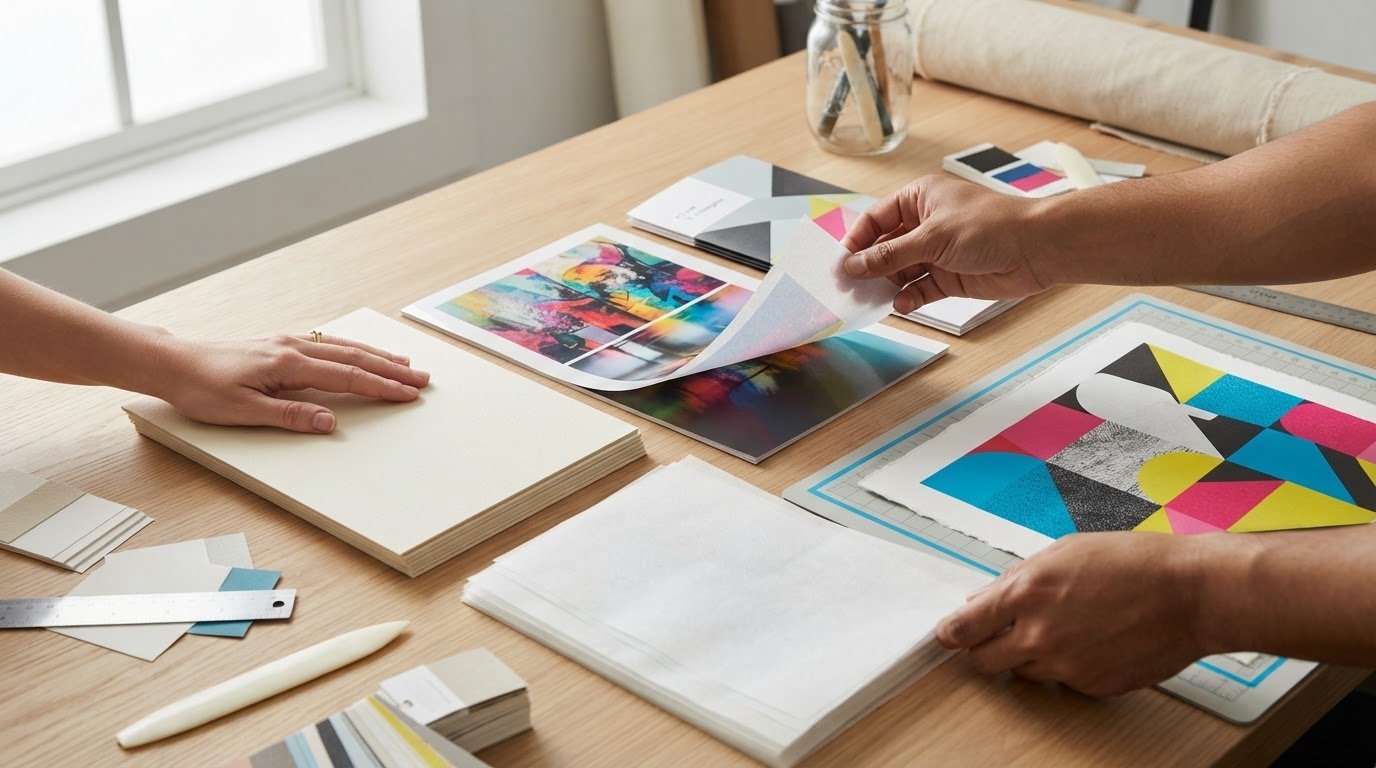
Could the right design still disappoint because the paper feels too light, shows print through or dulls its colours? Choosing the right paper for printing means matching the stock to the job, not simply picking the heaviest or glossiest option. If you’re unsure what gsm means or how a finish will affect your artwork, answer those questions before placing an order.
This guide explains how to choose paper for the printed item, how people will handle it and how it will be produced. You’ll learn how gsm describes paper weight and how finish and opacity affect durability, readability and the appearance of images and text.
You’ll also learn how to prepare a print brief with the finished size, colour requirements such as CMYK, and bleed: the extra artwork that extends beyond the trim edge. Compare appearance with practical handling and environmental preferences, including FSC-certified paper and eco-conscious stocks, then give your printer clear specifications for the result you want.
Key Takeaways
- Start choosing the right paper for printing by matching the stock to the item’s purpose, audience and handling needs.
- Use gsm as a guide to paper weight, but compare paper types too, since the same gsm can feel different.
- Compare brochure, booklet, flyer, card and poster requirements before settling on a paper choice.
- Align your paper specification with the format, artwork dimensions, colour needs and print requirements before sending files.
- Consider FSC-certified paper and eco-conscious stocks when environmental preferences matter, and include them in your print brief.
Choosing the Right Paper for Printing Starts with the Job
Start with what the printed piece needs to do, who will use it and how they’ll handle it. Choosing the right paper for printing begins with these practical decisions, not a weight or finish in isolation. A brochure that people keep and revisit has different needs from a flyer handed out for a short-term promotion or a poster displayed on a wall.
Purpose guides paper selection: define the item’s role, audience and expected handling first. Then choose paper characteristics that support its design and use.
Paper stock means the material selected for a printed item. Consider weight, surface finish, opacity and sheet size separately. Weight describes the paper’s mass; finish describes its surface; opacity affects how much print shows through from the reverse; and sheet size sets the dimensions available for the design. These characteristics work together, but one does not determine the others. For background on paper characteristics and weight measurements, see the Wikipedia overview of paper.
What will the printed piece need to do?
Think about handling and lifespan. A business card may pass between hands and sit in a wallet, so it needs to remain practical to carry and read. A brochure may be picked up repeatedly, while a flyer might be distributed for a specific campaign. A poster is usually displayed rather than passed around, so visibility and viewing conditions may matter more than frequent handling.
For a brochure or booklet, include the fold pattern and page count in the brief. These details affect how the finished item comes together and how readers move through its content. A single-sheet flyer has different requirements. State whether people will keep, carry, display or quickly discard the piece so the paper choice reflects its actual role.
Which project details should you decide first?
Set the core requirements before comparing stock options. Confirm the format, finished dimensions, quantity and intended audience. Then review the artwork. Photographs, large areas of solid colour and text-heavy layouts can affect the printed result in different ways. A design with detailed images may call for a different surface from a document where clear, comfortable reading takes priority.
Separate requirements from preferences. Legibility and a defined finished size may be essential, while a particular tactile feel may be flexible. This distinction keeps the brief focused and helps you make a decision if not every preference can be met.
- Essential: format, final dimensions, quantity and intended use.
- Design considerations: photographs, solid colour, text and the number of folds or pages.
- Preferences: surface feel and appearance choices that can guide the final stock selection.
With these details established, compare paper options against the job rather than relying on a single specification. A purpose-led brief also gives the production team the information needed to align the paper choice with the finished format and design.
Paper Weight, Opacity and Finish: Understand the Differences
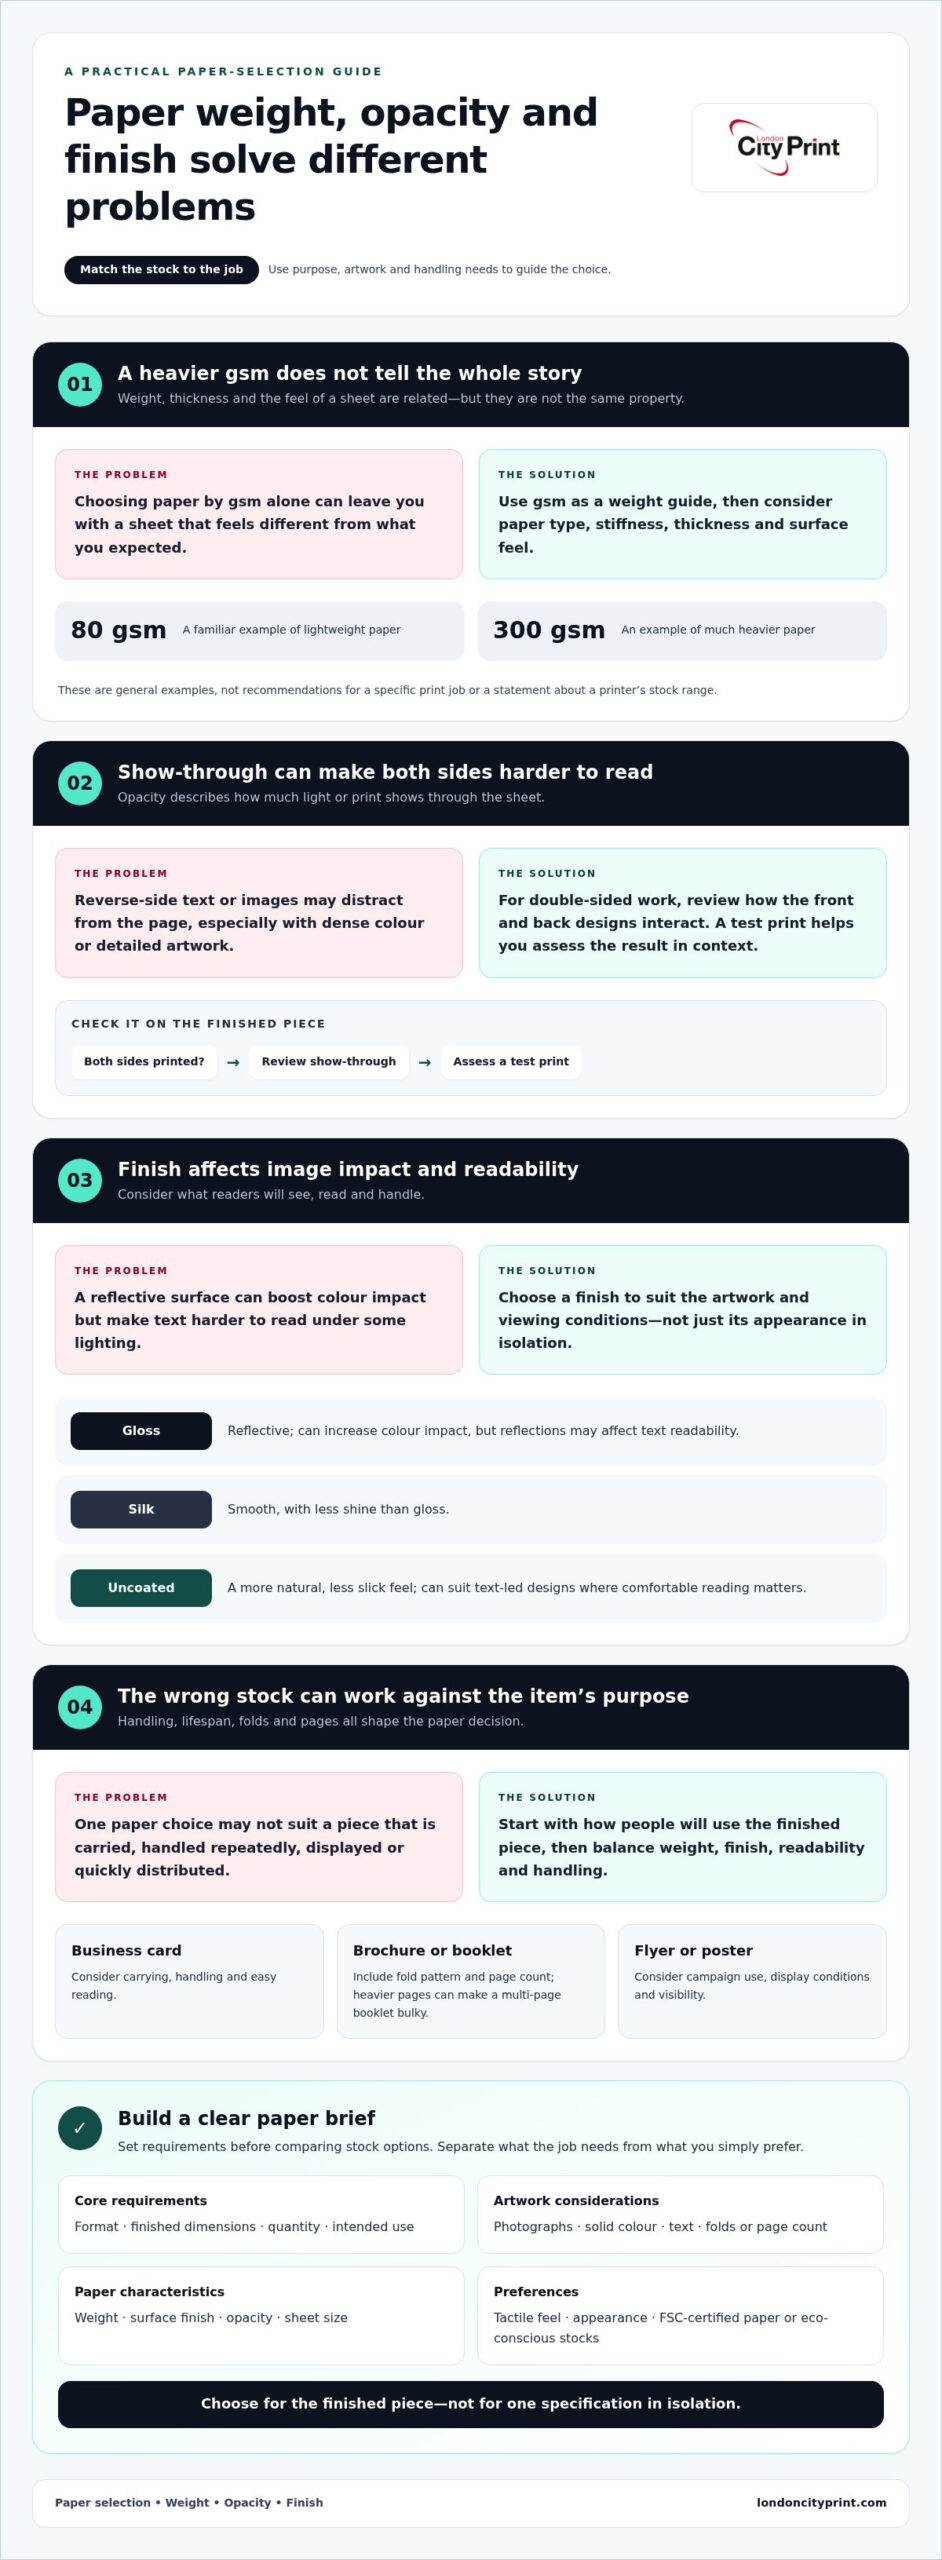
Paper specifications describe different properties, so don’t treat them as interchangeable. Weight is mass per square metre, thickness is the physical depth of a sheet, and opacity describes how much light or print shows through it. GSM means grams per square metre. It gives you a standard weight measure, not a direct thickness rating or a complete prediction of how a sheet will feel.
For general reference, 80 gsm is a familiar weight for lightweight paper, while 300 gsm describes a much heavier paper. These are examples, not recommendations for a particular job or statements about a printer’s stock range. Two papers with the same gsm can feel different because paper type and manufacturing affect stiffness, thickness and surface feel. Use gsm as one comparison, then consider the finished item and how it needs to handle.
How do paper weight and opacity affect a print job?
Opacity matters most when you print on both sides. If text or images from the reverse show through, the page can become harder to read, especially when the design uses dense colour or detailed images. For a double-sided leaflet or brochure, consider how the front and back artwork will interact. A test print can help you assess the result in context.
Page count and folds also influence the feel of the finished piece. A multi-page booklet may become bulky if every page uses heavier paper, while very light paper may not provide the feel you want for a piece readers handle repeatedly. For folded work, consider how the paper behaves at the crease and how the finished item sits in the hand. Choose gsm alongside format, page count and intended use rather than by weight alone.
What changes between coated and uncoated finishes?
A coated surface can give photographs and solid colour a smoother, more defined appearance. Gloss is reflective and can increase colour impact, but reflections may make text harder to read under some lighting. Assess a high-gloss finish against the design and where readers will view the piece.
Silk finishes offer a smooth surface with less shine than gloss. Uncoated paper has a more natural, less slick feel and can suit text-led designs where comfortable reading matters. The best choice depends on the artwork and use: a photo-led brochure, a text-heavy information sheet and a poster viewed from a distance may each need a different balance of image appearance, readability and handling.
Before finalising the specification, consider a physical proof if surface differences or show-through could affect approval. Share the format, artwork and intended use with the London City Print production team to discuss a paper brief that fits your project.
Compare Paper Choices for Brochures, Flyers, Cards and Posters
Apply the paper criteria to the format before settling on a stock. A brochure needs to work as a sequence of pages; a flyer must suit its distribution method; a business card needs to withstand handling; and a poster must communicate at its intended viewing distance. Use the comparison below to turn those differences into practical questions for your print brief.
| Format | Intended use | Paper factors to consider | Questions to resolve |
|---|---|---|---|
| Brochure or booklet | Present information across pages for readers to keep or browse | Page count, folds, image coverage, opacity and how the pages feel together | Will readers turn pages often? Does the design need to fold or lie open? |
| Flyer | Share a message through handouts or distribution | Readability, print on one or both sides, and ease of carrying or handing out | How will you distribute it? Does the reverse carry important content? |
| Business card | Share contact details and represent a business | Frequent handling, legibility and the impression created by the paper surface | Will the card be carried, passed between people or kept for reference? |
| Poster | Communicate a message in a displayed setting | Viewing distance, image and text clarity, display conditions and finished size | Where will people view it, and how far away will they stand? |
How should you compare paper for brochures and booklets?
Start with the structure. A short brochure with a few folds has different requirements from a booklet with a higher page count. Consider how the sheets will fold, how much artwork covers each page and whether readers need to handle the piece repeatedly. If both sides carry content, opacity matters too. Avoid choosing stock by weight alone; the finished booklet should feel appropriate as a complete piece.
Explore professional booklets and brochures with the page layout and intended use in mind. If your design includes binding, account for how the method affects the finished document’s construction. See professional document binding for relevant binding considerations.
What matters for business cards, flyers and posters?
Business cards often pass through many hands, so consider how the paper feels and whether the details remain easy to read. A flyer’s needs depend on where and how you’ll distribute it. For a double-sided design, check that reverse-side content remains clear. For a poster, consider the viewing distance: text and images must suit how people will encounter it. Match the finished size and artwork to the display setting, using large-format poster printing as a format-specific reference.
One paper choice cannot suit every format: select stock for the way each item will be read, handled, distributed or displayed. This format-led approach makes choosing the right paper for printing more precise and helps you brief the production team without relying on assumptions about weight or finish.
How to Finalise Paper Specifications Before Sending Artwork
A clear specification connects your paper choice to the artwork, finished dimensions and production requirements. Work through these steps before sending files to spot missing details early and give the production team a precise brief.
- Confirm the format. State whether you’re printing a flyer, business card, poster, brochure or booklet. For multi-page work, include the page count and page arrangement.
- Set the finished dimensions and quantity. Give the final trimmed size, not just the digital page size. If the piece folds, describe the fold and finished format.
- Describe how people will use it. Note whether they’ll carry, handle, display or refer to it repeatedly. Include whether readers need to view both sides.
- Specify the artwork and colour requirements. State whether the job prints single-sided or double-sided. Note whether the design relies on photographs, solid colour or mainly text, and prepare colour artwork in CMYK, the four-colour print process, where required.
- Choose a preferred finish and paper feel. Separate essential requirements from preferences. If you’re unsure, state what you want the finished piece to communicate and use that to guide the paper decision.
- Prepare and review the print file. Supply high‑resolution PDFs where appropriate. Include bleed, which extends artwork beyond the trim edge so small trimming shifts don’t leave an unprinted border. Keep important text and logos clear of the trim area.
- Review a sample and approve the final specification. Assess how paper, colour and finish work together before full production, then check the approved details against the final artwork.
What should you include in a print brief?
Put the essential production information in one place: finished size, quantity, page count, single- or double-sided printing, intended use, preferred finish and handling conditions. Add colour requirements and the artwork file. A concise brief prevents confusion between the document’s page size and its final trimmed dimensions. It also gives your printer a clear basis for matching paper to the design and job.
When should you request a sample or file check?
Request a sample if you need to judge the paper in your hand or see how the design appears on the chosen surface. A physical sample can clarify paper feel in a way a screen preview cannot. Digital samples are physical proofs used to assess colour, weight and finish before production.
Use pre‑flight file checks to review resolution, colour profile, fonts and bleed. These checks can flag file issues before production, while a sample can help resolve different expectations about the printed appearance. Together, they reduce avoidable misunderstandings between the brief and the finished job.
Have your dimensions, quantity, artwork and paper preferences ready? Discuss your print brief with London City Print to align the specification with the result you need.
Choose Paper with London City Print’s Production Team
Your paper choice should support the format, artwork and result you need. A booklet must work as a set of pages, while a business card needs to feel right in the hand. A flyer must suit how you’ll distribute it, and a poster must remain clear in its display setting. Share these practical requirements with London City Print’s production team so the paper decision fits your project.
London City Print produces commercial and personal print, including booklets and brochures, business cards, flyers and posters. The team can help connect paper characteristics with your item’s intended use and production requirements. If sustainability matters to your brief, include FSC-certified paper or eco‑conscious stocks in the specification.
How can the print format guide the final decision?
Use the item’s structure and handling needs to focus the paper discussion. For a brochure, consider its page count, folds and how readers will handle it. For business cards, think about frequent handling and the professional impression you want to create. Flyers need to suit their distribution method and reading requirements, while posters need to communicate clearly at their intended viewing distance.
Digital printing is most efficient for short runs under 500 units. Tell the team your quantity alongside the format and design so they can consider the production method as part of the paper decision. The right recommendation depends on your project’s requirements, including how the artwork uses colour and images.
What is the next step for your print project?
Prepare a brief with the details that shape production. Include the format, quantity, finished dimensions, artwork and preferred paper characteristics, such as weight, surface finish or tactile feel. Note essential requirements separately from preferences. If you’re still weighing options, explain how people will use the finished item and what you want it to communicate. The team can then help tailor the paper choice to that outcome.
London City Print offers same-day service for most professional documents. Share your deadline in the brief so production planning can account for it alongside the project requirements.
- Format: brochure, business card, flyer or poster.
- Production details: quantity, finished dimensions and artwork.
- Paper preferences: weight, finish, feel and environmental considerations.
- Practical requirements: handling, display or distribution needs and target deadline.
Choosing the right paper for printing is easier when you explain what the finished piece must do, not just a preferred gsm. Discuss your print project with London City Print and share your brief so the production team can guide the paper decision.
Make Your Next Print Brief Count
A print project can provide a useful reference for future materials. Keep a record of the approved specification and how the finished piece performs in use. That gives you a practical starting point for later updates, while leaving room to adjust the paper when the format, artwork or audience changes.
Choosing the right paper for printing is not a one-time decision for every item. Treat each new piece as its own production brief, with a clear result in mind. If sustainability is one of your organisation’s priorities, include it early so the paper discussion accounts for that preference alongside design and use.
When you’re ready to move from planning to production, bring your requirements together. Start planning your print project with London City Print and share a clear brief to help the team shape the next step.
Frequently Asked Questions
What does gsm mean when choosing paper for printing?
GSM is the paper-weight figure shown in a stock specification. Use it to compare candidate papers, then record the selected figure in your print brief so the approved choice stays clear during production. If a project uses different papers for its cover and inner pages, list each separately. This avoids vague requests such as “heavier paper” being mistaken for a precise specification.
Is heavier paper always better for printing?
No. Choose a paper weight for the way the finished piece needs to function, rather than treating a higher figure as an automatic upgrade. Before approving a specification, consider whether the item must fold, sit flat, fit into an envelope or work with a particular binding. These production details can matter as much as the impression you want the paper to create, especially for multi-part printed pieces.
Which paper finish is best for photographs and colour images?
There’s no single finish that suits every image-led design. Review the artwork: a layout with fine detail, gradients or closely matched colours may need closer proofing than one with simple graphics. For high-end photographic projects and art reproduction, specialist studios like Image-Tec demonstrate how carefully matching paper stock and finish preserves tonal depth and fine highlights. Assess a representative image from the final file, not just a blank sample, to judge how the chosen surface supports the actual content before approving the specification.
What paper should I choose for a double-sided flyer?
Start by deciding what the reader needs to notice on each side. If one side carries the main message and the other has supporting details, make that hierarchy clear in the layout and keep essential information easy to locate. Include the distribution plan in your brief, such as handing the flyer out or placing it on a counter. The format and design can then guide the paper decision.
Is FSC-certified paper suitable for professional printing?
Yes. FSC-certified paper can be used for a professional print job. If certification is a project requirement, state it clearly in your brief and written specification for the approved paper. This gives the production team a precise record to work from and keeps material choices aligned with your organisation’s requirements. Consider the finished piece’s visual and practical needs alongside that preference.
Can I choose paper before my artwork is finished?
Yes, you can set a provisional preference while design work continues. Give your designer the intended paper characteristics early so the layout can account for the final format and finishing plan. Mark that choice as provisional in your project notes, then update the production specification when the artwork is approved. This keeps early design decisions useful without letting an outdated stock note carry through to the final order.
Do I need to supply a PDF in CMYK for printing?
Not always. Follow the file requirements for your specific print job. A PDF can contain artwork in different colour modes, so check the exported file rather than relying on the filename or design software settings. Send the final version, not a working draft, and identify which file the team should use if you’ve supplied revisions. Pre‑flight file checks can help catch technical issues before production begins.